I love Focaccia bread! My favourite lunch is taking two thick slices of fresh Focaccia bread with creamy havarti and a generous slice of field tomato in between. As a side for our thansgiving dinner yesterday, I made a Parmesan Rosemary Focaccia. Focaccia is enjoyed in any season, but when you make it at home, the aroma is as comforting as the crunching of fall leaves and the smell of woodfire.
Today’s Focaccia is more of a deep-dish pizza with the toppings nestled on top. The key is to have a well-oiled cast iron frying pan. I’ve made little notations along the way to ensure a great turnout with this recipe. So please make note of them. Yes, you do need a cast iron frying pan for this recipe as the pan needs to go in the oven. But I’m sure any other oven-proof pan would work as well if you don’t have one.
For the Dough:
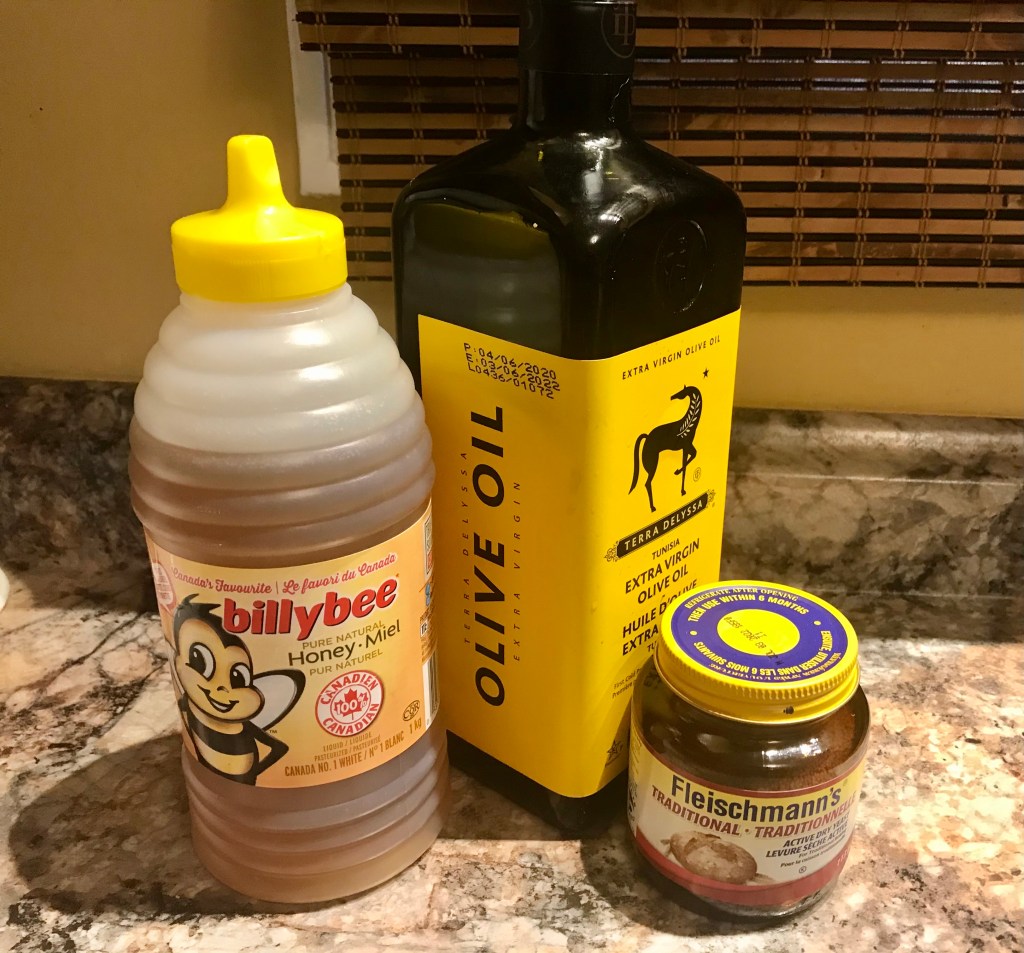
3/4 cup of warm Water
1 tablespoon Liquid Honey
1 & 1/2 teaspoons Active Dry Yeast
1 3/4 cups All-Purpose Flour
1/4 teaspoon Salt
2 tablespoons Olive Oil
For the Topping:
2 teaspoons Olive Oil
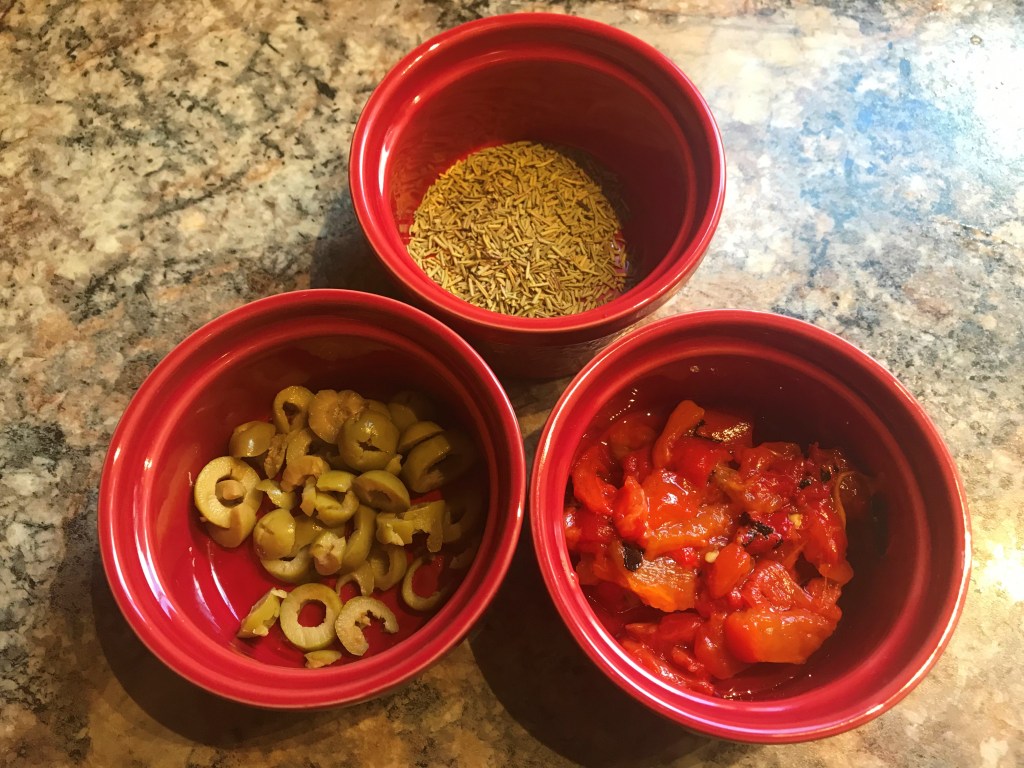
2 tablespoons Red Roasted Peppers – chopped into small pieces
1 tablespoon sliced Green Olives
1 tablespoon dried Rosemary
Pinch of Sea Salt
Now You’re Ready…
Preheat oven to 250 F.
*I use my Kitchen-Aid mixer and fill the bowl with warm water for a few minutes to ensure that the bowl is not cold when I start as we are working with yeast. When I am ready to start, I pour out the water and make sure the bowl is warm, not hot.
In your warm bowl – add the warm water and mix with the liquid honey until just dissolved. Sprinkle the yeast on top and stir gently. Set the timer for 5 minutes or until foamy which may take about 6 minutes.
*The oven should be preheated now. Turn it off and put your cast iron frying pan into the oven to warm up and leave the door shut.
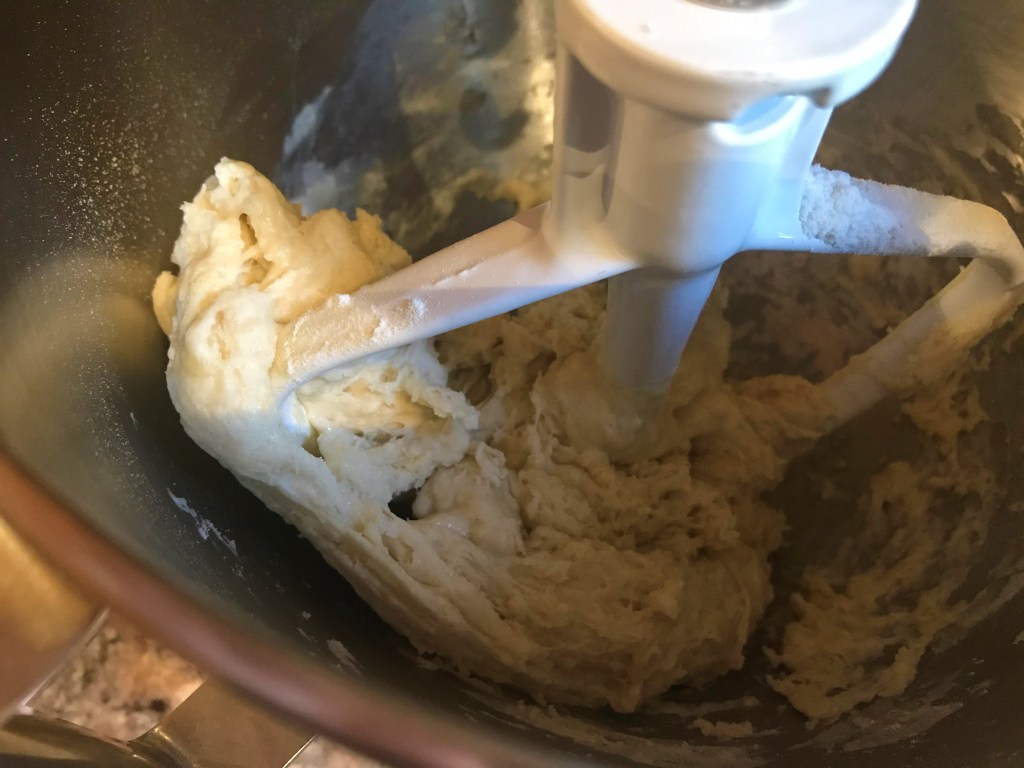
Add 1 cup only of the flour and the bit of salt and start mixing on low-speed for about 1 minute. I use the paddle attachment, not the dough hook as the amount of dough is quite small. Drizzle in the oil and then add the rest of the flour continuing on the low speed. As soon as the dough starts balling together and pulling away from the side of the bowl, stop your mixer.
*Take the cast iron frying pan out of the oven and set it aside.
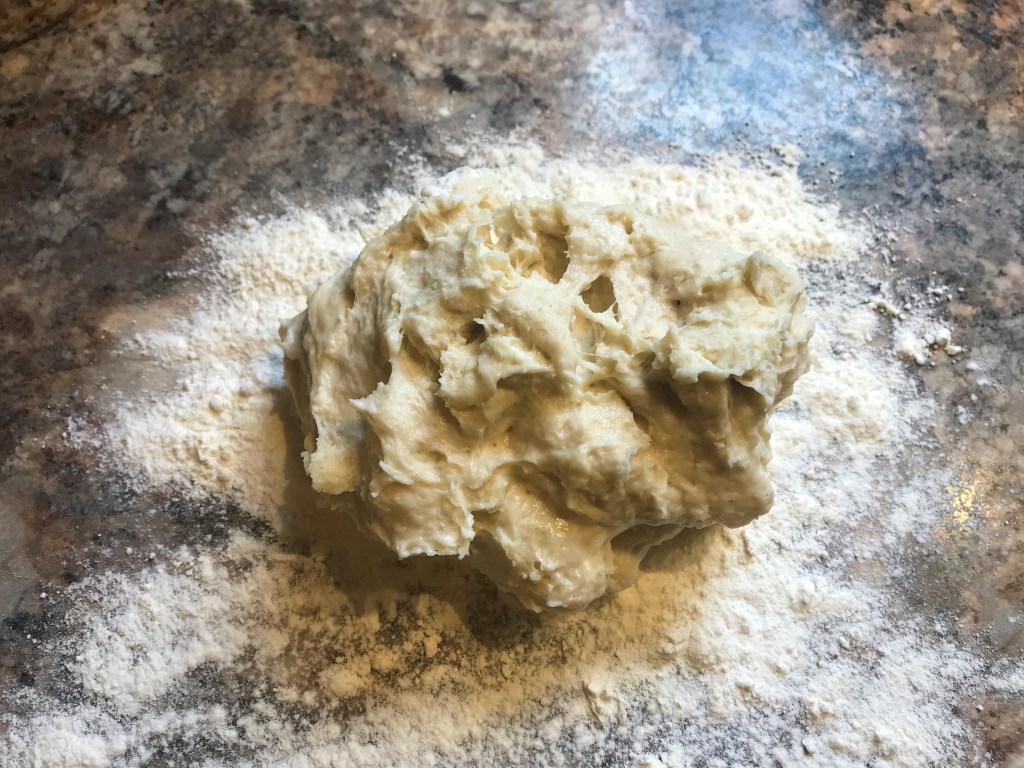
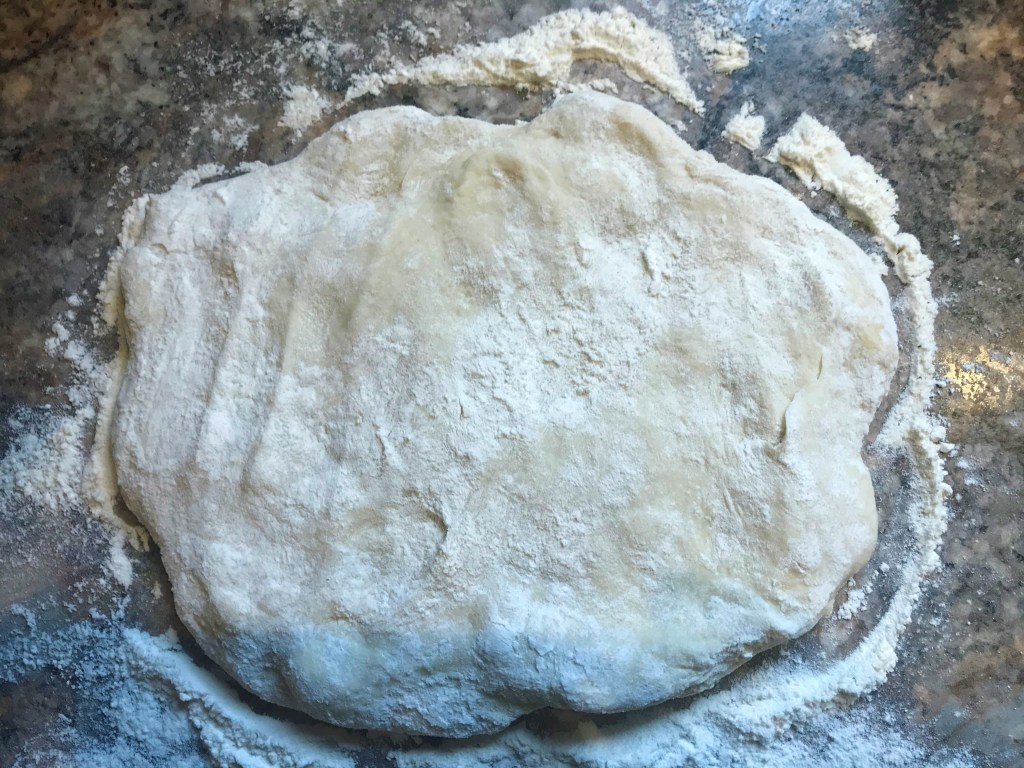
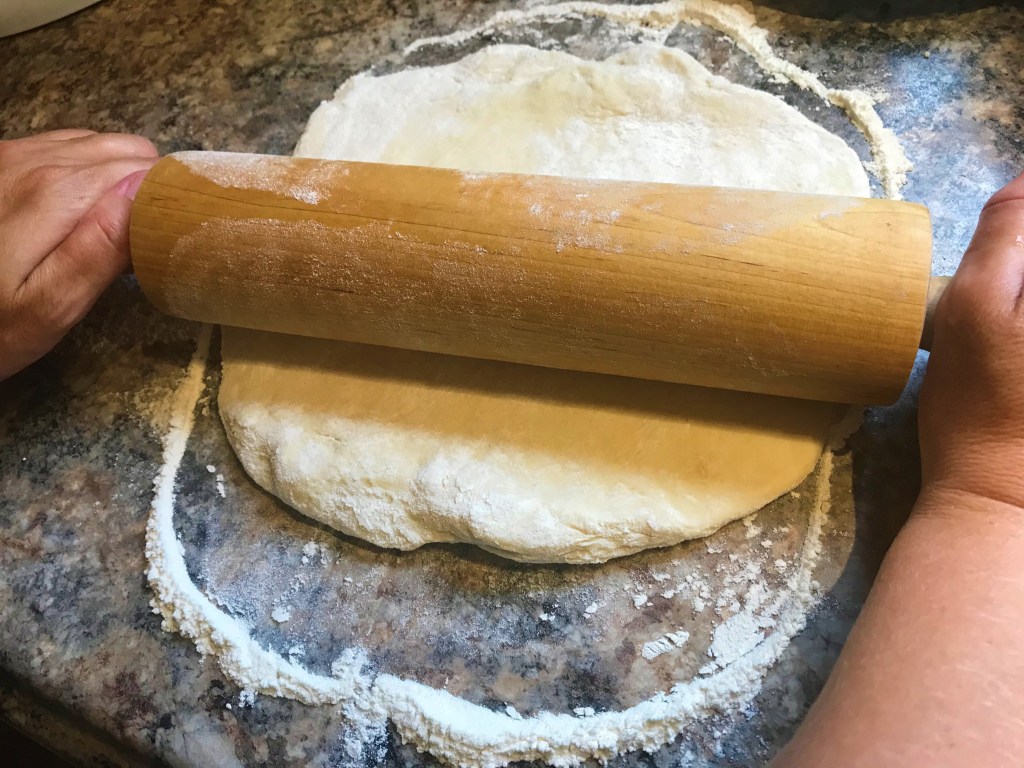
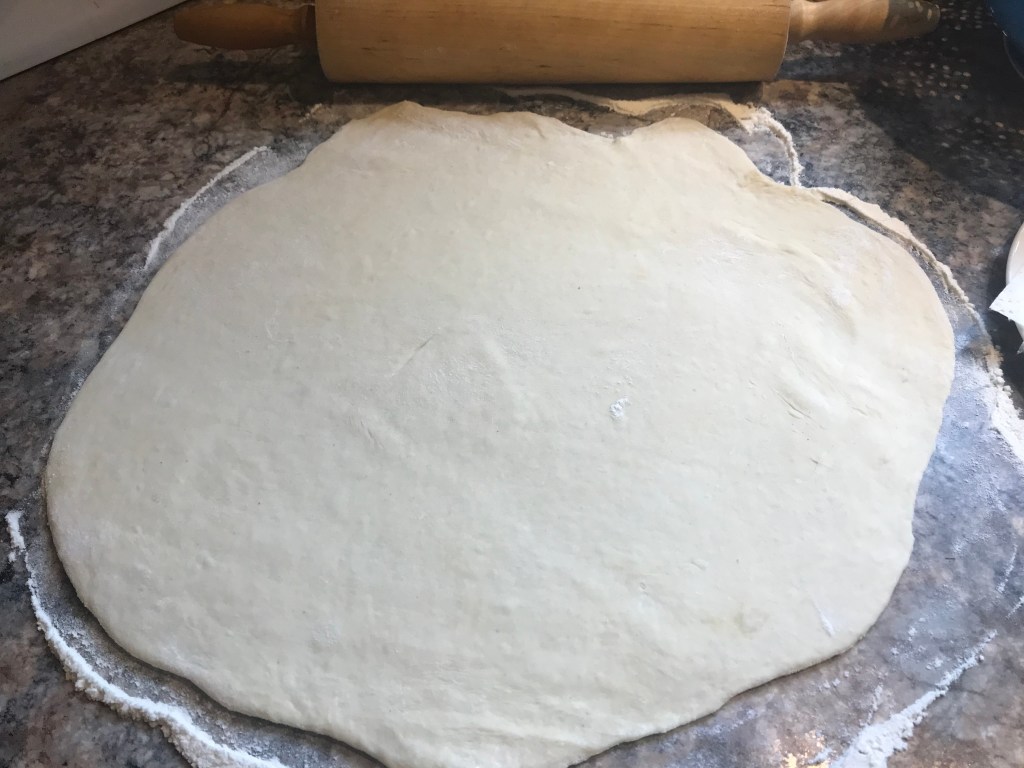
Sprinkle some flour on a work surface and turn the dough out onto the floured area. Work the dough very briefly flipping it so both sides are covered with flour and it is no longer sticky – kind of a folding motion. This will only take about 3-5 folds and flips. Roll it out in a circle a bit wider than your frying pan.
Generously grease the pan with olive oil on the bottom and the sides.
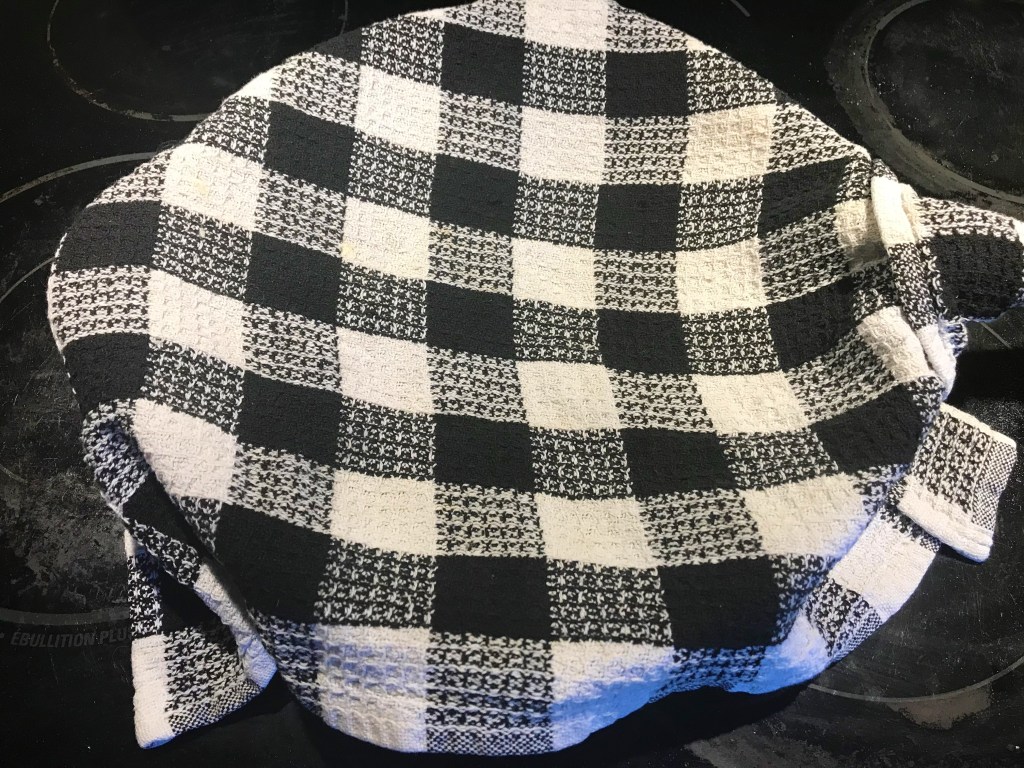
Pick up the rolled out dough and place into the pan. The sides will go up as you should have rolled it out slightly larger than the pan. That will give you a nice edge! Cover with a kitchen towel and place back in your warmed-up oven for 20 minutes. So don’t forget to set the timer…
At exactly 20 minutes, remove the pan from the oven and remove the kitchen towel.
Turn up your oven to 400 F.
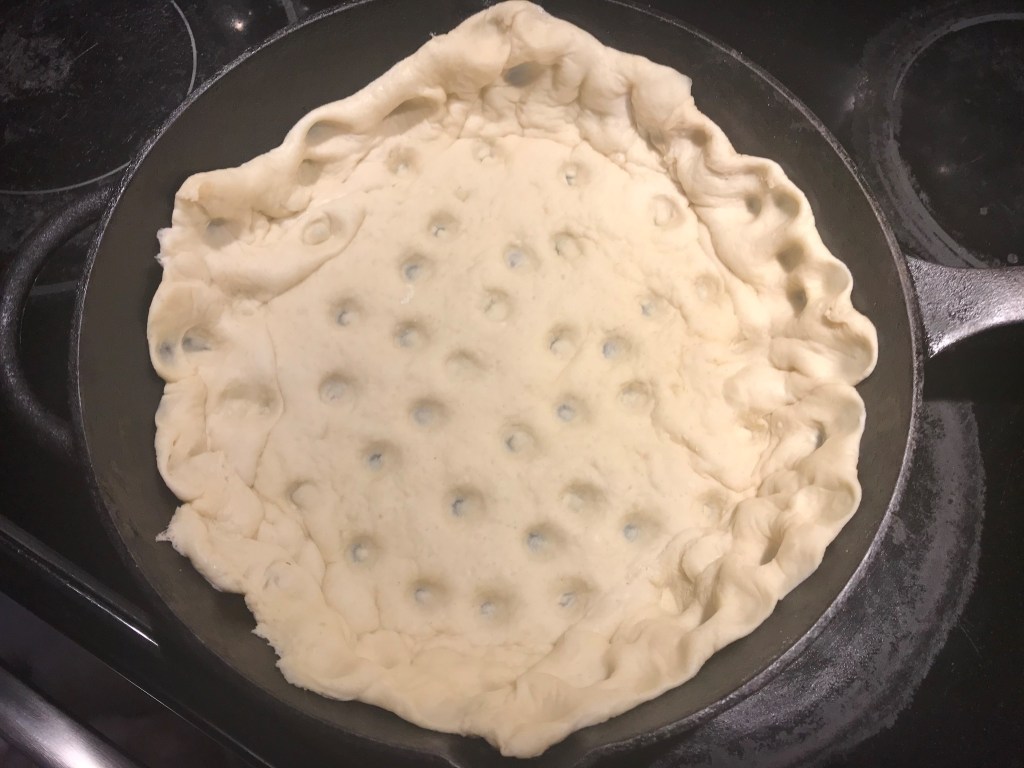
Now here comes the fun part! Poke little divets into the base of the dough to give it some dimples. The flavours will catch in these little indentations, so more is better. Make sure the sides are fairly uniform all around so you have a nice edge. But it doesn’t have to be perfect! We’re going for rustic here as it is a rustic kitchen dish.
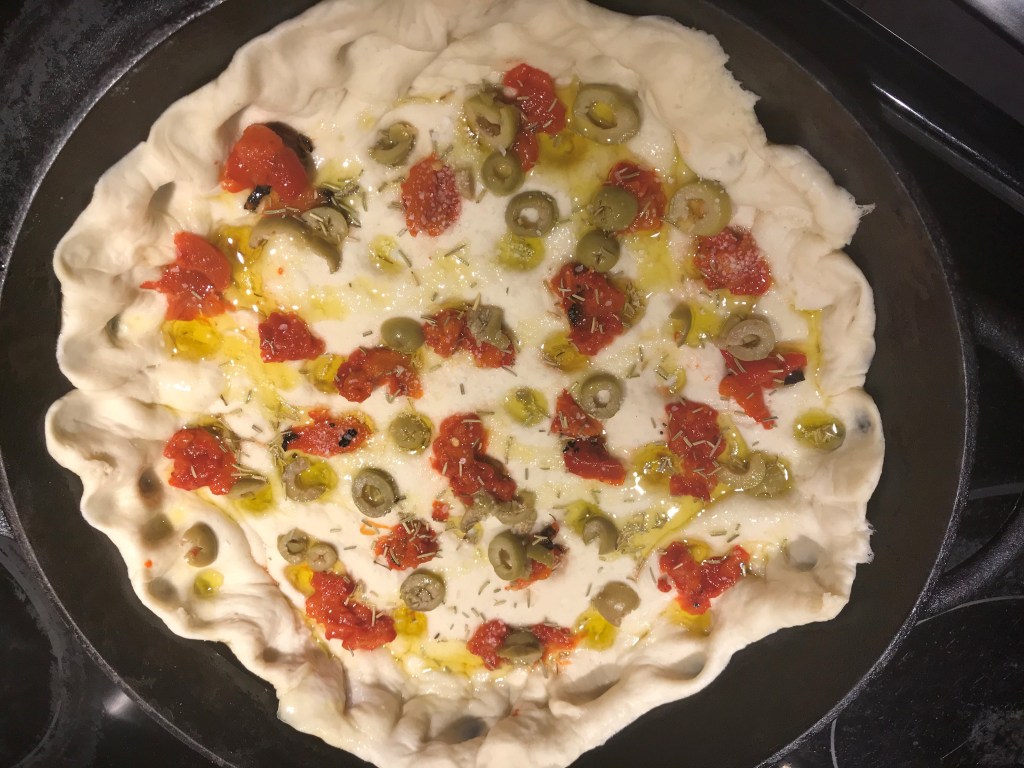
Place the roasted red pepper pieces on the top so every piece will get some of the pepper flavours, followed by the green olive slices. Drizzle generously with olive oil, sprinkle the dried rosemary across and finish with a little sprinkle of salt at the end.
By this time, your oven should be hot enough. Place the pan directly onto the middle rack and set the timer for another 20 minutes.
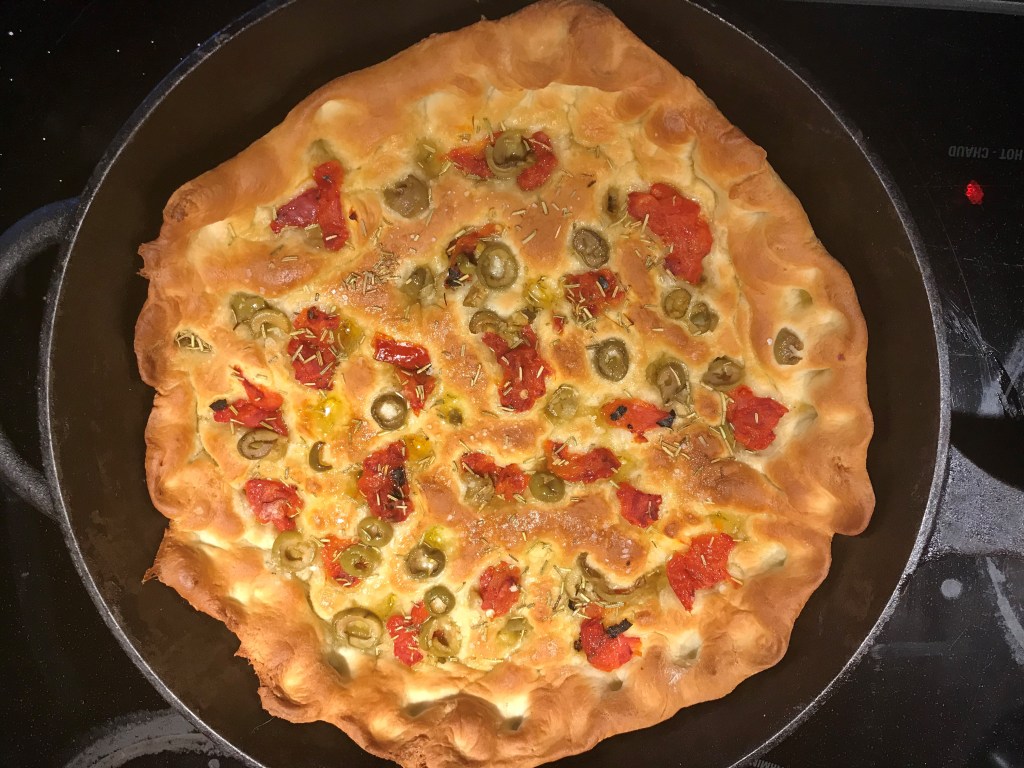
By the time 18-20 minutes rolls around, you will have a nice golden crust and see a bit of the olive oil bubbling on top. We want this healthy oil as it will keep the Focaccia nice and moist and give it a great flavour! Time to pull out the pan.
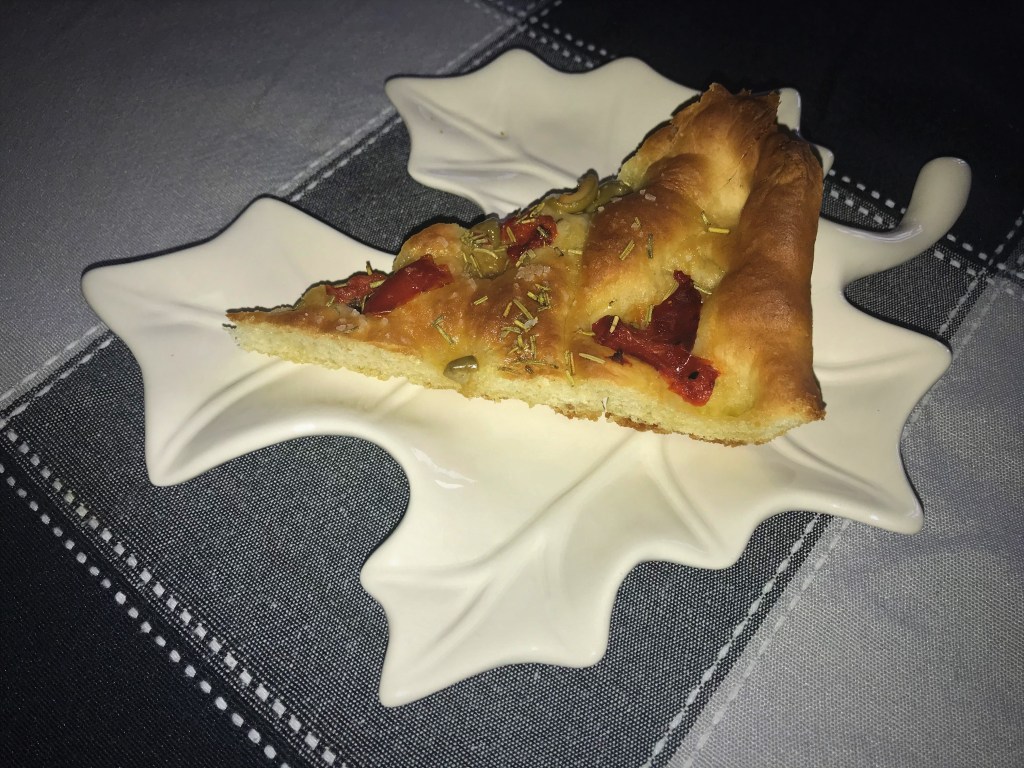
Let it cool for a few minutes or leave it in the pan for an hour before serving. It lifts in a nice crisp disk and can be placed on a round plate or wooden board for serving.
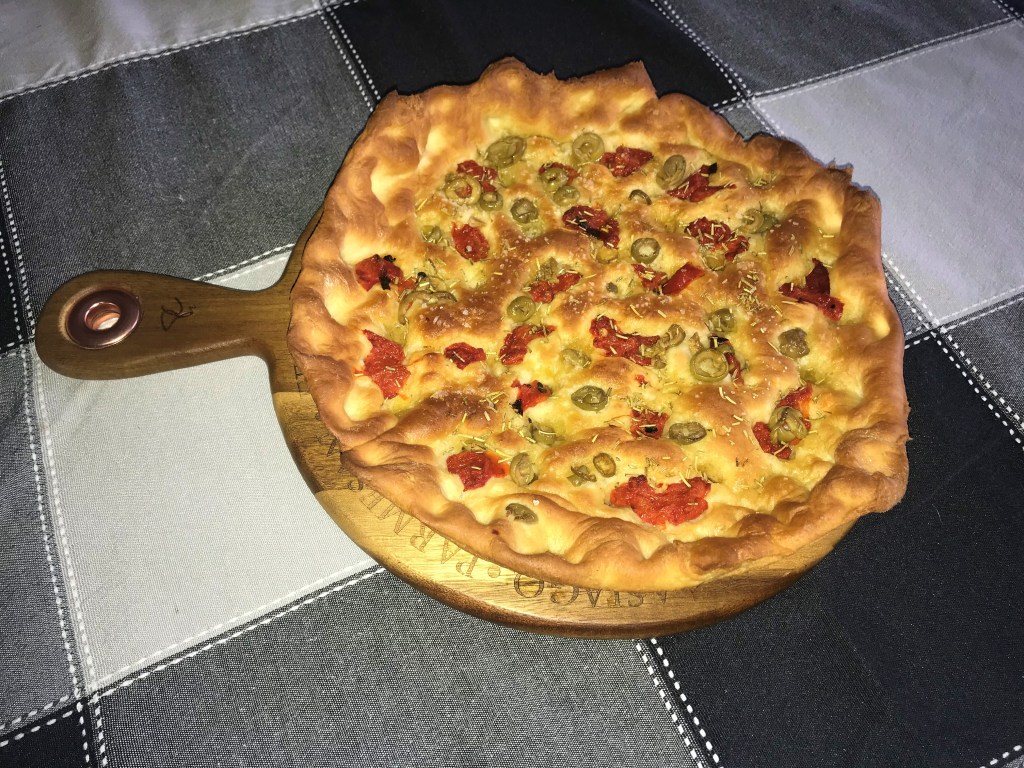
Voila… Cast Iron Frying Pan Focaccia “Pizza” is ready to serve! It is best enjoyed the day that it is baked. But you can warm it up in the oven for a snack the next day.
As always, enjoy! Lolita